Feb 5th 2023
Why You Need a Le Creuset Dutch Oven

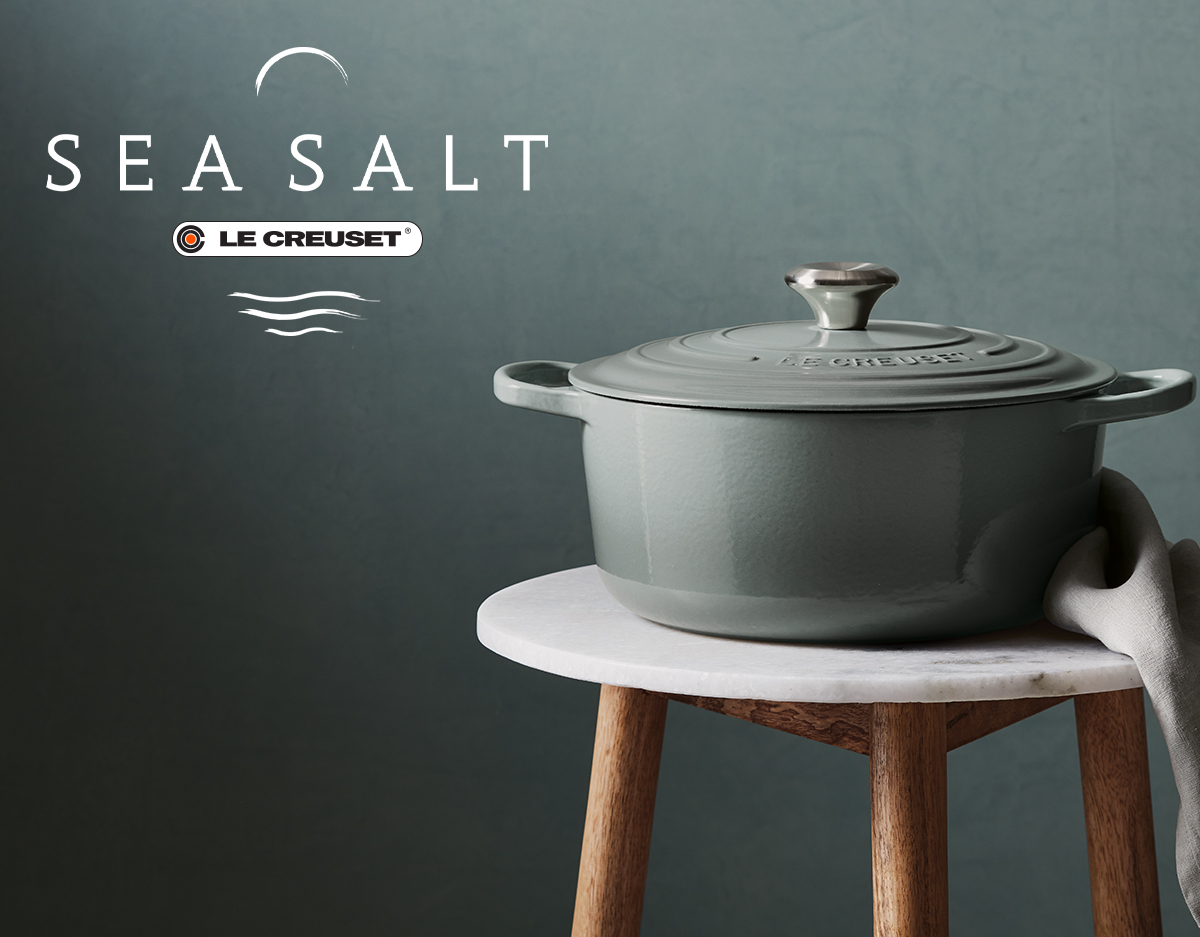
You know what they are. They’re beautiful. Your grandma had one or wanted one. They’re not cabinet pieces, no, they’re practically table decor. They’re cult-like; your cousin’s been building a subtle collection these last few years. They sneak out of his kitchen shelves in bright colors. You're envious. But you wonder, why, on earth, are Le Creuset dutch ovens nearly $500.
Gigi’s answer? Because they’re worth it.Taste of Home,Food and Wine, and, my personal favorite, Serious Eats all tell you that a dutch oven is an essential tool and ally in the kitchen. They’re one pot wonders. They make soups and stews a breeze. They make braises that melt in crowd pleasing bites. And, Gigi’s favorite, they make some of the best bread that you can make at home. My job today is to tell you, free of any personal incentive, why that dutch oven in your shopping cart should be a Le Creuset.
You can find any number of articles to this effect. In fact, among the first search terms associated with Le Creuset in google is the question we’re after today:is Le Creuset worth it.I clicked on it, and you can too. The answer, celebrated in loving articles like this breathtaking and beautiful guide to their manufacture, is overwhelmingly yes. Why? Well,Homecook Worldputs it succinctly when they say, “It’s quite simply a higher standard of cookware!”. Indeed, 15 Le Creuset employees methodically inspect each final product and an astounding 30% of these masterworks don’t even pass inspection. There’s a reason Le Creuset doesn’t bat any eye when they offer you a lifetime warranty: it’s because from the moment they mold it from molten iron the color of their original hue,Volcanique,they’re confident your grandchildren might attempt Julia Child’s boeuf bourguignon in it. More than that, they’re confident that they’ll be around to honor that warranty because thousands of chefs and homecooks, the world over, share a love of their product.
So, now that we have that out of the way, what are the virtues of enameled cast iron? Well. Let’s start with one my favorite: ease of maintenance. Enameled cast iron does not require seasoning. Enamel will never rust. Moreover, Le Creusets come with an almost silken texture that, while they do not repel stickiness as much as a non-stick, allow you to avoid cling while you sear with ease. We all love the heat distribution and retention of cast iron; a well heated cast iron pan can absorb the shock of cold ingredients without the temperature loss that spoils that perfect sear. Le Creuset adds to cast iron’s spectacular heat distribution by resolving it’s achilles heel: acidity. Everyone that’s used iron for a while has made the mistake, maybe it was a spritz of lemon?, of adding enough acid to trigger a reaction that leaves your food with the faint taste of metal. Le Creuset’s enamel protects your food from these unwanted flavors.
Well, enough of that. What’s my favorite part about my Le Creuset? It’s easy: the recipes, cuisines, and techniques that it unlocks for you. This week, I’m forgoing a traditional recipe. You could open any cookbook with a braise section and stumble across a recipe that your Le Creuset would help you perfect. But for me, my love of the Le Creuset dutch oven began with breadmaking. The lid helps trap moisture for the first half of your loaf and when you remove it for the second half, you get that delicious, crispy, browning that makes oven-fresh bread one of my household’s favorites.
So, how do I start? I usually do a 70% hydration sourdough loaf. 2.25 percent of that loaf is going to be autolsyed sourdough starter (i.e. your leaven left in some water, maybe about 10%). I always throw in at least a tablespoon of salt (around 10 grams to be exact). Hydration is the relation of water to flour in a loaf. Then, I do a 6hr bulk fermentation (the time a loaf spends rising before it is shaped). Then, I shape the loaf, proof it in a banneton basket for an hour, and then, I do a cold dough rise for as many as 12 hours. A cold rise is when dough is left to rise in the refrigerator, covered, usually in a banneton basket.
Lastly, I preheat my oven to 450, leaving the dutch oven inside. After about an hour, I’ll take the dutch oven out, toss some flour on the bottom, and gently add my loaf. At this point, I score the top using a bread lame, sprinkle a bit of flour and add sesame seeds or like garnishes, and give it a few sprays over the top with a spray bottle (for humidity inside the dutch oven). And, for the finale, I’ll put it back in the oven and bake with the lid on for a half hour and then with the lid off for as long as ten minutes. The hardest part: I place the beautiful loaf on a cooling rack and I hold off, for as long as I can, while it cools off.
I hope you enjoyed this week’s blog. As always, if you have any questions please comment down below. Thank you so much for reading and I hope to have you here next week.
Yours,
Gigi <3
